
Creating a New Course
Create the Course Project
Courses in CoCalc are mostly managed using special .course files. In principle, you can create these files in any project and you can have multiple course files in a single project. However, in most cases a dedicated project for each course works best and we recommend you to start with this approach.
Warning
One of the most important reasons to have a separate project for each course is students privacy. Other instructors and TAs are added as collaborators and they will have access to ALL students enrolled into ALL course files in the project. It is your responsibility to ensure that they are allowed to have this access.
So let’s start by creating a new project! Sign into CoCalc and click on Projects at upper left or go to https://cocalc.com/projects Click on Create Project…, fill in the Project Title, select your Instructor License from the drop down or enter its code, and click Create Project. If you don’t have a license yet, click Buy a License… to configure it and purchase it, then come back to create the project.
Tip
For instructors we recommend a monthly or annual subscription with the run limit equal to the number of courses that you (or your department) are going to teach using CoCalc, or just 1 if you are not sure. It is possible to use the same license for the instructor and for students, but it is often less convenient. When purchasing a license, you may want to give it a descriptive title to easily distinguish it from others:
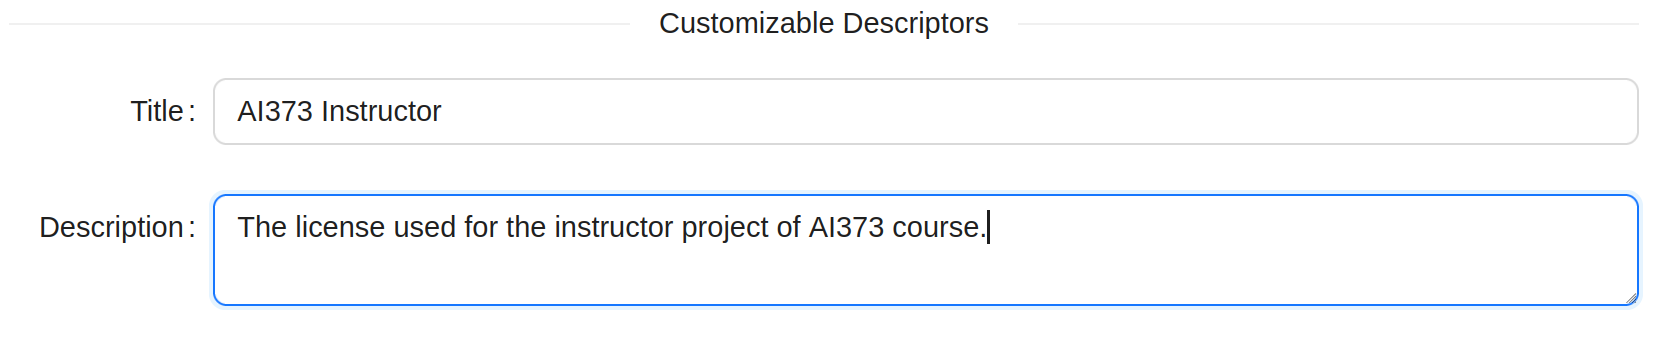
Set the Title for the Instructor License
Add Instructors and TAs
As soon as the course project is created, you can add teaching assistants or other instructors to it as collaborators/users . They will also have access to all associated student projects. Do not add students in the course as project collaborators!
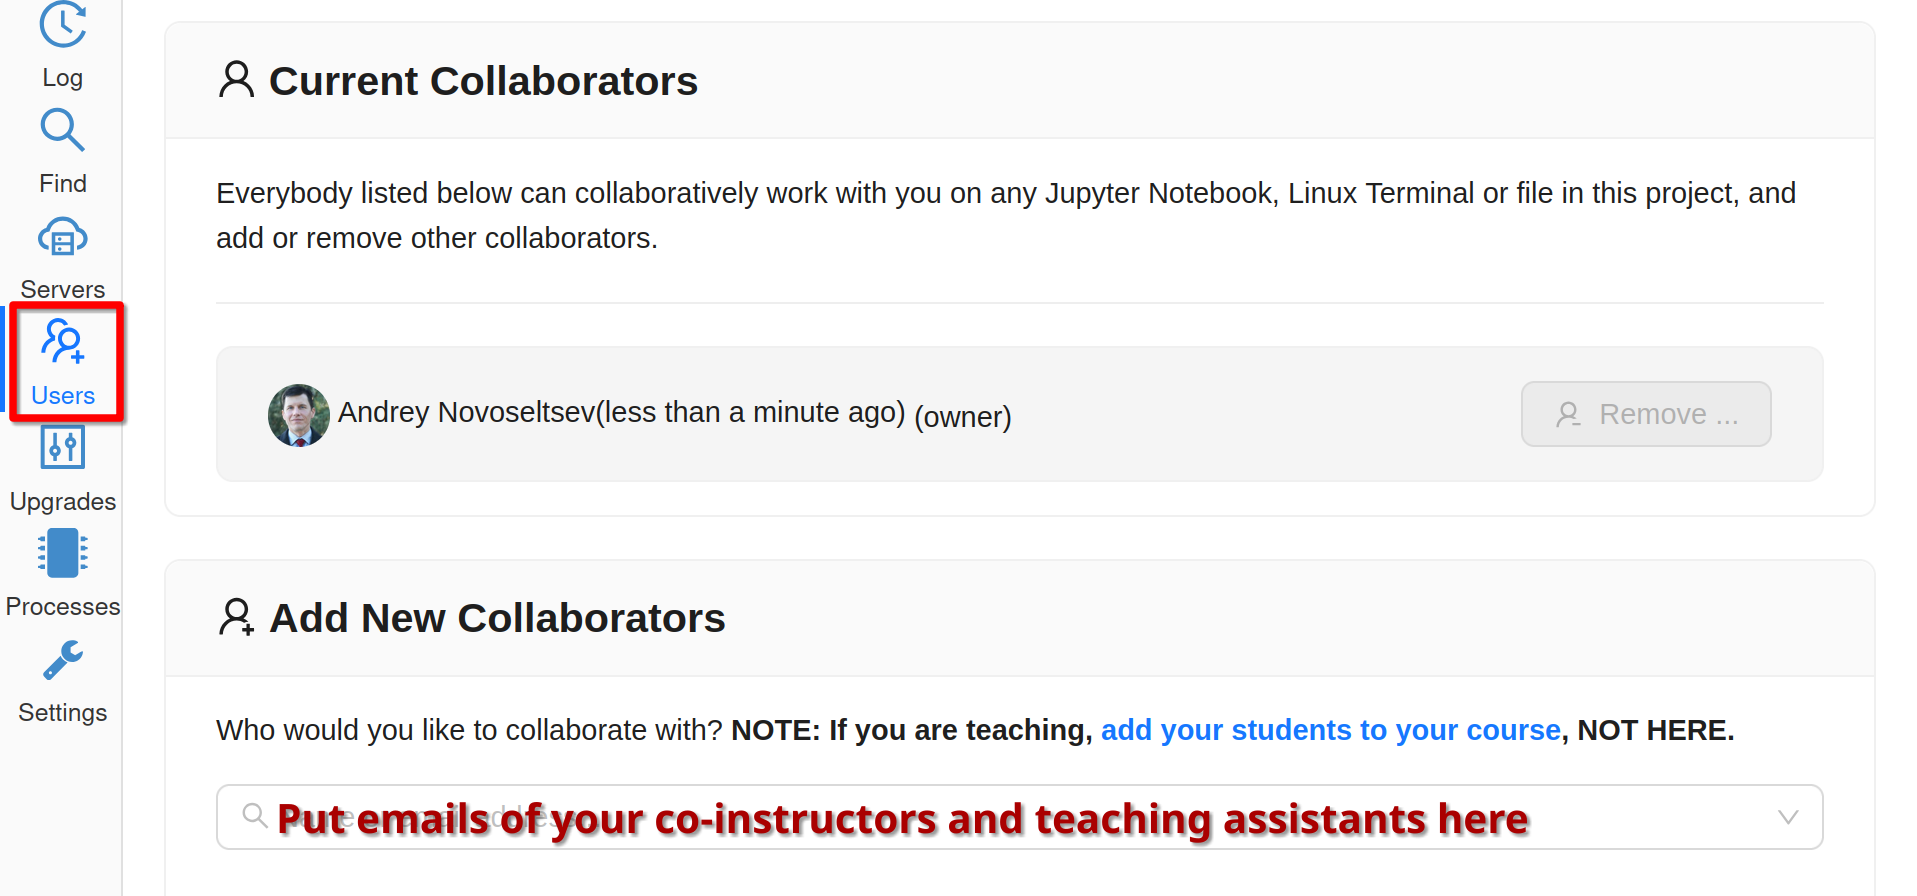
Add TAs as Collaborators
If the email address you use to add a collaborator is not associated with a CoCalc account, an email will be sent to that address with instructions on how to create an account. Once an account with exactly that email address is created, that new user will become your collaborator.
Warning
Email is inherently not reliable. It is possible that some messages from CoCalc get dropped even before your recipient’s spam filter. However, the emailed invitation has no secret links or other essential information. So you can use any mode of communication to invite your collaborators, just make sure that the same email address is used to add a collaborator and to create an account.
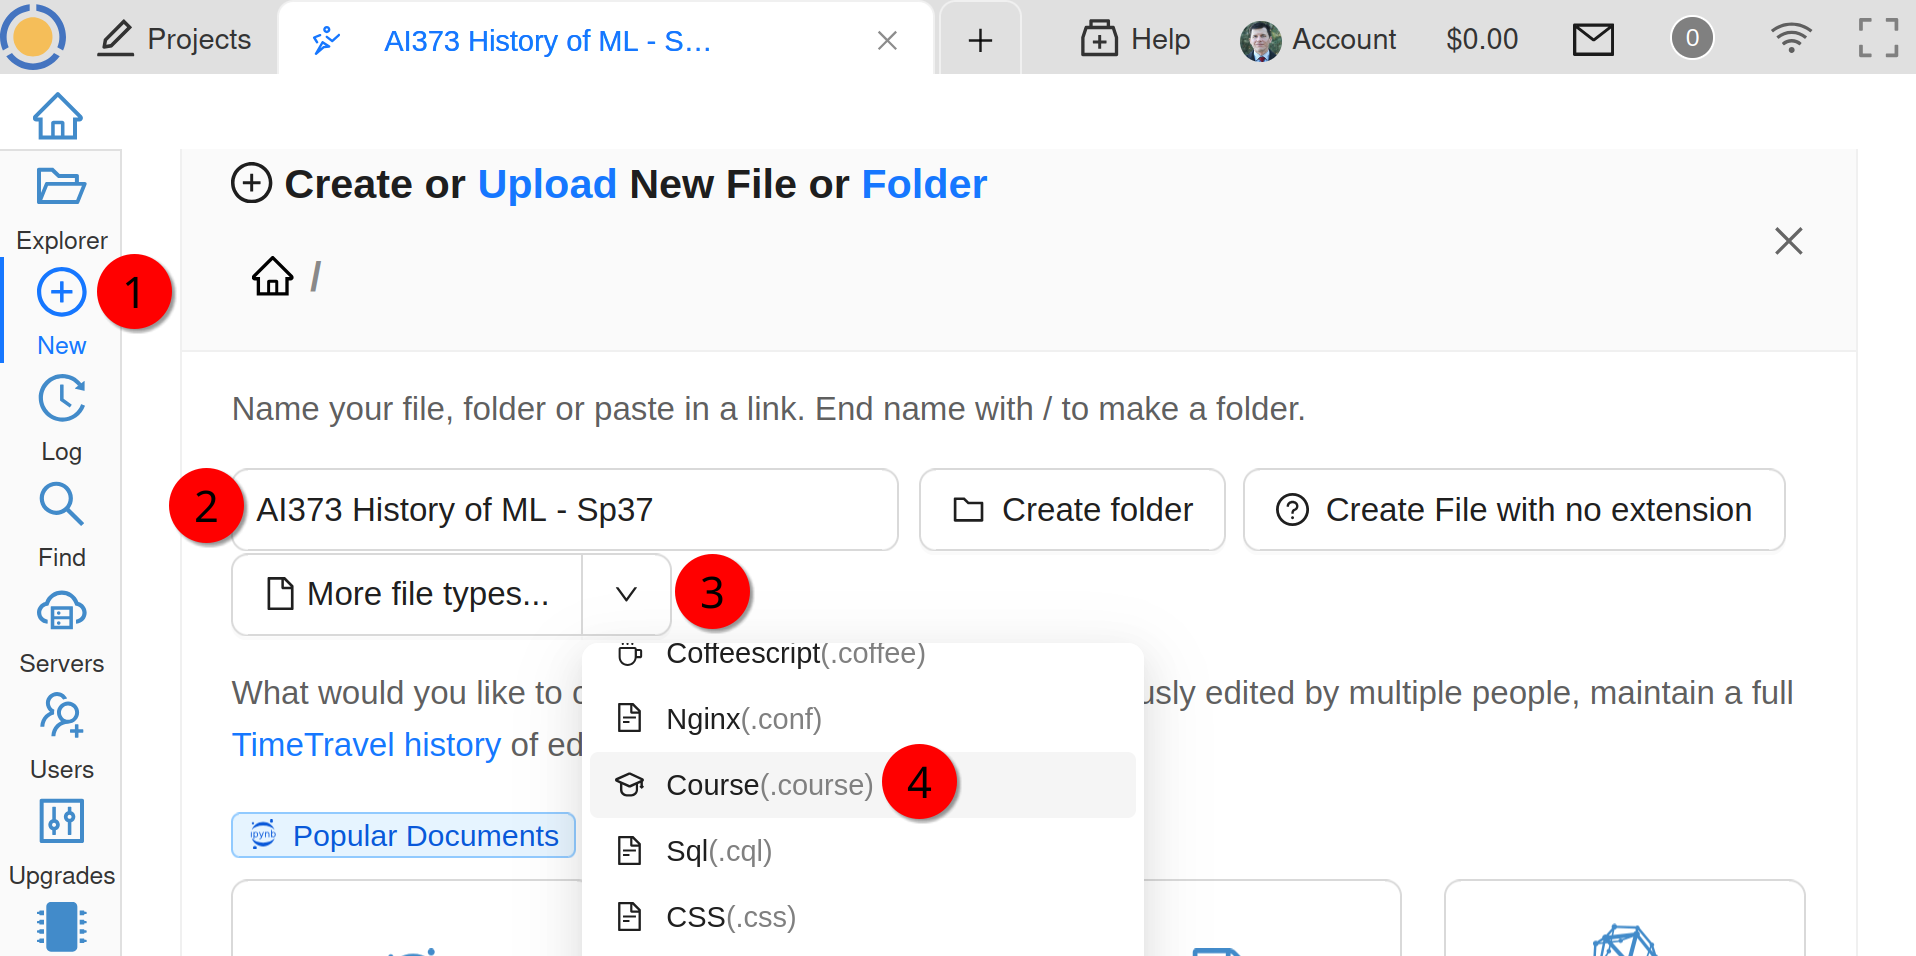
Create the Course File
Almost all aspects of your course are controlled by a .course file. Click New, enter the file name, then either scroll to Manage a Course tile or pick Course (.course) from the More file types… dropdown to create the course management file. 📺 video
Creating the Course File
Multiple Sections
As mentioned before, you may have more than one course file in a single project. For example you can create different files for different sections of the same course. They will be mostly independent of each other, allowing not only different groups of students, but also different due dates and different assignments. They will have the same TAs (all collaborators on the course project). Copy Course Configuration panel under Configuration tab may be useful to control what other aspects are common.